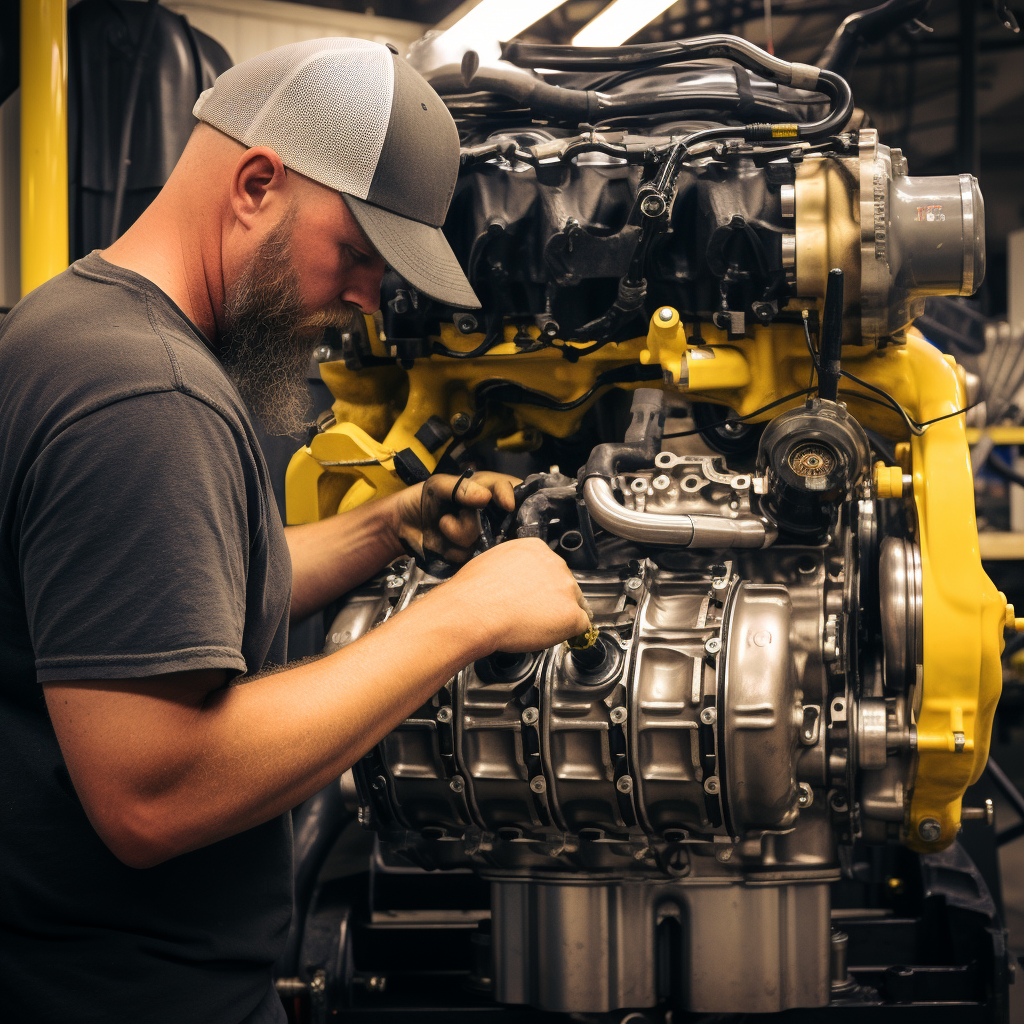
Caterpillar's C15 diesel engine is known for its power and reliability, but over time, the fuel injectors can wear out or develop issues that affect performance and fuel efficiency. If you're experiencing injector problems or want to perform routine maintenance, changing the injectors is a task you can tackle yourself. In this step-by-step guide, we'll walk you through the process of changing injectors on a C15 Cat engine.
Tools and Materials You'll Need
Before you start, make sure you have the following tools and materials on hand:
- Safety goggles and gloves
- Socket set and wrenches
- Torque wrench
- New fuel injectors (make sure they are compatible with your C15 engine)
- Injector O-rings
- Injector removal tool
- Clean rags
- Fuel line disconnect tools
- Injector installation lubricant
- Service manual for your C15 engine (for torque specifications)
Step 1: Safety First
Safety is paramount when working on a diesel engine. Before you begin, take these safety precautions:
- Work in a well-ventilated area, preferably outdoors or in a well-ventilated garage.
- Ensure the engine is turned off and the ignition key is removed.
- Allow the engine to cool down completely before starting any work.
- Wear safety goggles and gloves to protect your eyes and hands from fuel and debris.
Step 2: Locate and Access the Injectors
- Open the engine compartment and locate the fuel rail, which houses the injectors.
- Disconnect the negative battery terminal to prevent accidental starting.
- Remove any components obstructing access to the fuel rail, such as air intake components or wiring harnesses.
Step 3: Depressurize the Fuel System
To avoid fuel spraying when you remove the injectors, you need to depressurize the fuel system:
- Locate the fuel pressure relief valve on the fuel rail.
- Use a small screwdriver to depress the valve and release any built-up pressure.
- Place a rag under the valve to catch any fuel that may escape.
Step 4: Remove the Fuel Rail
- Carefully disconnect the fuel lines from the fuel rail using fuel line disconnect tools.
- Remove the bolts securing the fuel rail to the engine.
- Lift the fuel rail off the injectors, exposing the injectors and O-rings.
Step 5: Remove the Old Injectors
- Loosen and remove the retaining nuts or bolts that hold the injectors in place.
- Use an injector removal tool to gently pry the old injectors out of their sockets.
- Be careful not to damage the injector sockets or surrounding components.
Step 6: Install the New Injectors
- Apply a small amount of injector installation lubricant to the O-rings on the new injectors.
- Insert the new injectors into their sockets, ensuring a snug fit.
- Tighten the retaining nuts or bolts to the manufacturer's specified torque settings. Refer to your service manual for these specifications.
Step 7: Reassemble the Fuel Rail
- Carefully lower the fuel rail back onto the new injectors.
- Reattach the fuel lines to the fuel rail using fuel line disconnect tools.
- Tighten the bolts securing the fuel rail to the engine to the specified torque settings.
Step 8: Complete the Process
- Double-check all connections and ensure everything is properly tightened.
- Reconnect the negative battery terminal.
- Turn the ignition key to the "on" position without starting the engine. This will allow the fuel system to pressurize.
- Check for any fuel leaks around the injectors or fuel lines.
- Start the engine and monitor for smooth operation. Any issues should be addressed immediately.
Congratulations! You've successfully changed the injectors on your C15 Cat engine. Regular maintenance like this can keep your engine running efficiently and ensure it continues to deliver the performance you expect.
Always consult your C15 Cat engine's service manual for specific instructions and torque specifications, as they may vary slightly depending on the year and model of your engine.
Remember to dispose of old injectors and any hazardous materials in accordance with local regulations. Safety should be your top priority throughout the process.


