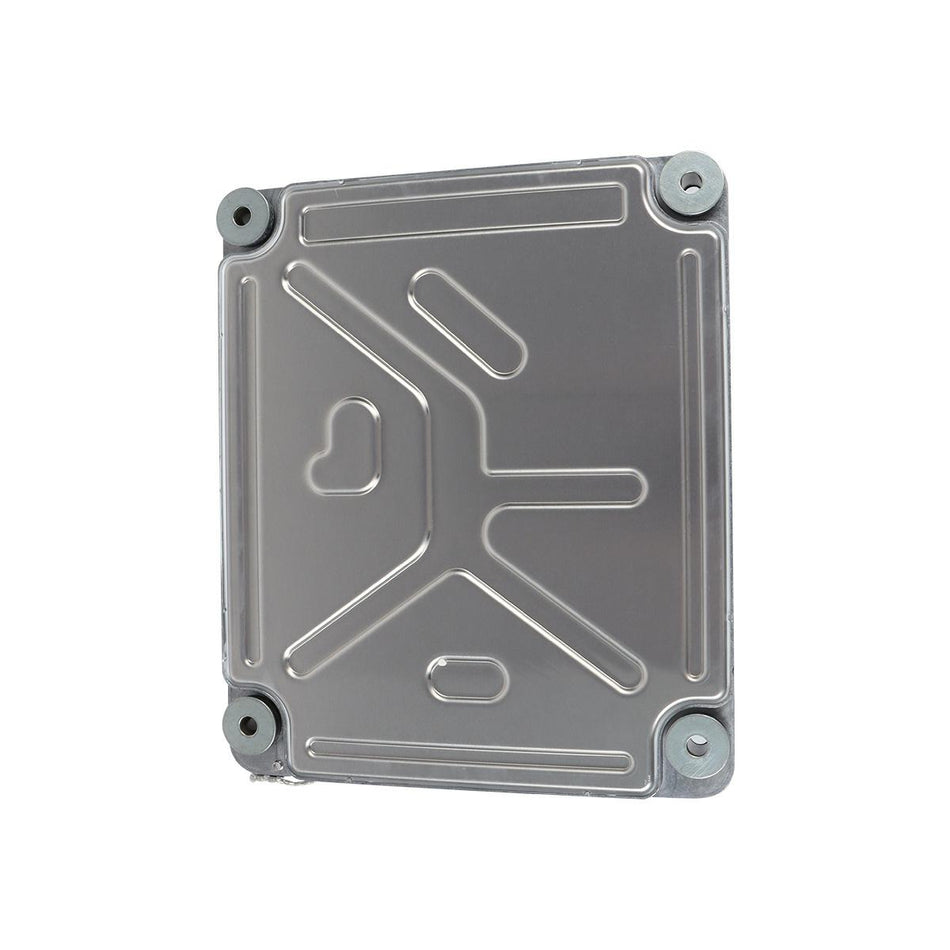
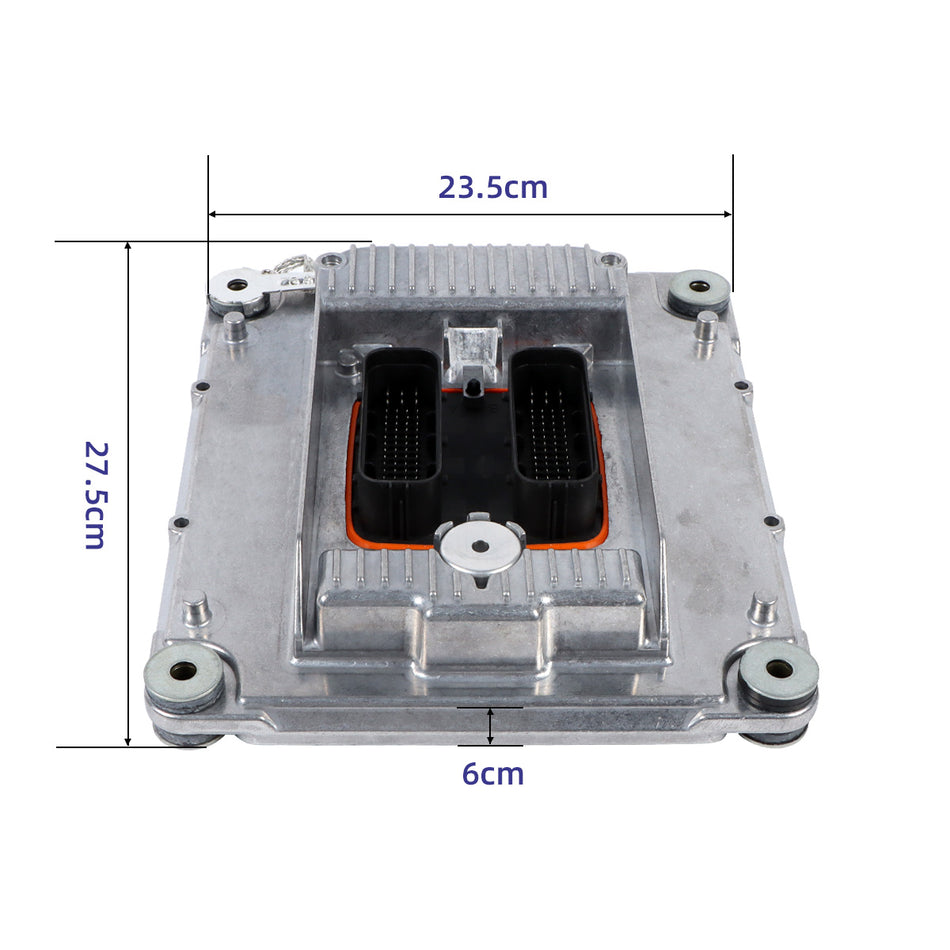
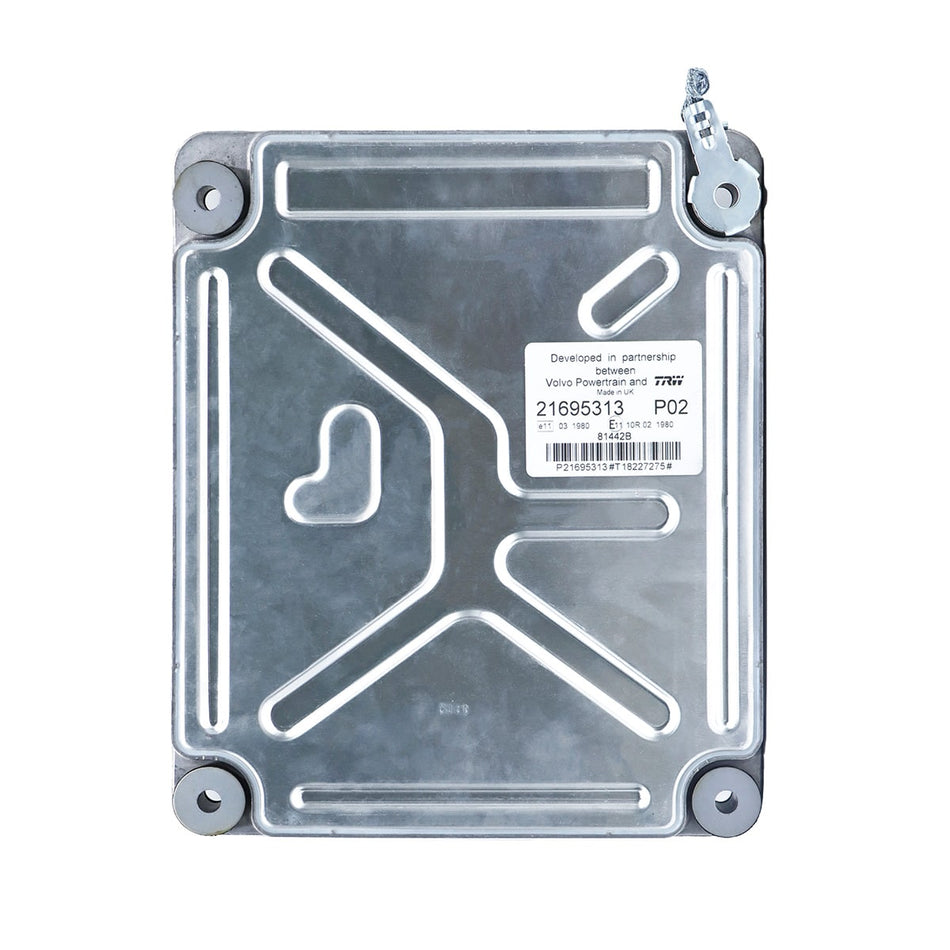
Materials needed to replace the cold start injector:
10mm or 5mm hexagon socket bolt remover
Brake cleaner
Rag
Flathead or Phillips screwdriver
Slip joint pliers
Step 1: Familiarize yourself with the maintenance manual
Replacing the cold start injector can be a little tricky. Some steps in this process may be taken for granted, but you need to be very careful. The best way to find all the tiny but very important tips are to read through the service manual of a particular vehicle. Although the cold start valve plays the same role in all engines, the installation method is slightly different.
Step 2: Purchase the correct cold start injector
Many times, after-sales parts are not exactly the same as the original parts. Before purchasing an after-sales product, please check to make sure you can purchase the original parts of the vehicle. It may cost you more money, but because it can be installed correctly and work more efficiently, it is worth the extra cost.
Step 3: Locate the cold start injector
In most cases, the cold start injector will be located in the intake distributor. Remove the air intake cover and air filter. You should notice that a small valve in the assembly looks like a fuel injector. If you have trouble finding the cold start valve, please refer to the engine's specific service manual.
Step 4: Clean the surrounding area.
After locating the valve, clean the area around the valve to avoid any debris remaining in the manifold.
Use the brake cleaner here. Just use an aerosol can to fix the area around the cold start valve with a hose, and then let all the coarse particles be discharged immediately.
Step 5: Disconnect the battery and valve
Use a ratchet or a suitable wrench to loosen the bolts on the battery terminals. Remove the battery terminal and place it in a safe area. Set up the floodlight so that a lot of light can be used. Locate the cold start valve again and disconnect the wires from the external terminals. A screwdriver should be used as a lever to pry up the plastic tab. Work carefully to avoid damaging the small label. Pull out the wire harness from the valve.
Step 6: Put on safety glasses.
The fuel injection system is designed to maintain pressure for a long time, so fuel may be injected when disconnected. If you use a high-pressure system, there may be a lot of sprays.
Step 7: Disconnect the fuel line. It is easy to distinguish high-voltage lines from low-voltage lines.
The high-pressure fuel pipe will be made of hard plastic and use banjo bolts or torch nuts as connectors. Low-pressure systems use hoses with clamps.
Either way, this is to wrap the connection with a rag when disconnecting the other end with one hand. The pressure will ease within a second or two.
If it is a high-pressure system, hold your breath and wait a few more seconds, because as the accumulator is emptied, there may be a second burst of pressure. Then put the gasoline-soaked rag somewhere safely and continue working.
Step 8: Loosen the hose.
If there is a fuel hose in the car, loosen the clamp and try to loosen the hose in a twisted manner.
It may not work properly because the hose likes to freeze into place. Try to gently put anti-slip pliers on the hose where the hose intersects the pipe. If this does not work, you may have to cut the hose.
Step 9: Remove the cold start valve
Look for some small screws to fix the cold start valve to the intake assembly. Please remove the screws very carefully, as they can easily break due to excessive pressure. After removal, unscrew the cold start valve from the fuel rail.
Step 10: Install the new valve
After removing the old cold start valve, you will need to use a clean rag to clean the threads and surrounding area. Install the new valve in place and screw it into the fuel rail. Make sure you align the threads correctly and do not cross the parts.
Step 11: Connect and start
Connect the wiring harness to the valve and replace the battery terminals. Turn the key to "ON" to start the fuel pump and introduce fuel before starting the engine.
Step 12: Check for fuel leaks.
Run the engine for a period of time, and pay close attention to the fuel line connection to ensure that it does not leak.
Turn off the engine, and then observe the connection for a few minutes to make sure. If you don't see or smell any gas, you can go on the road at any time.
If you feel uncomfortable doing this work yourself and want to ask professional technicians (such as VEP ENGINE PARTS technicians) to replace the cold start injector for you.


